
There’s a specific kind of dread that hits when a client sends you a gorgeous location shot and you zoom in to find power lines threading across the sky, a rogue delivery truck parked in the background, and graffiti on a wall that was definitely not in the brief. I’ve been there more times than I want to count, usually at 11pm in some coffee shop with a deadline breathing down my neck. The old workflow? Clone stamp. Healing brush. Content-aware fill. Repeat until your wrist hurts. It worked, but it was slow and manual and you’d always miss something.
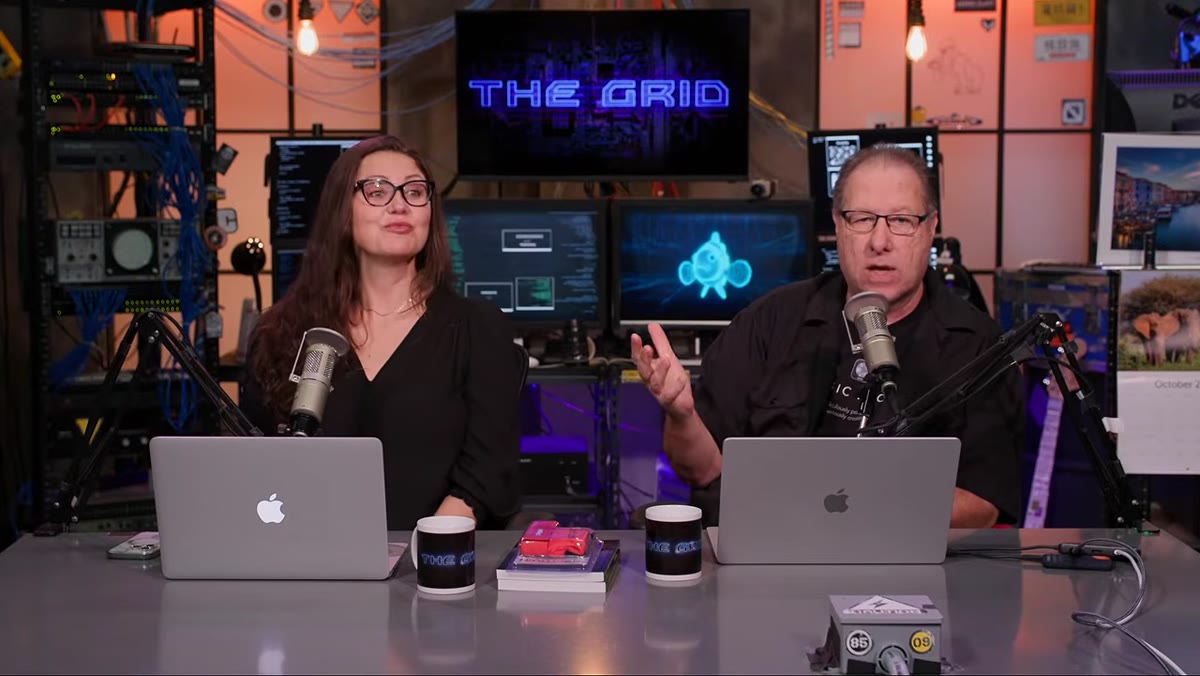
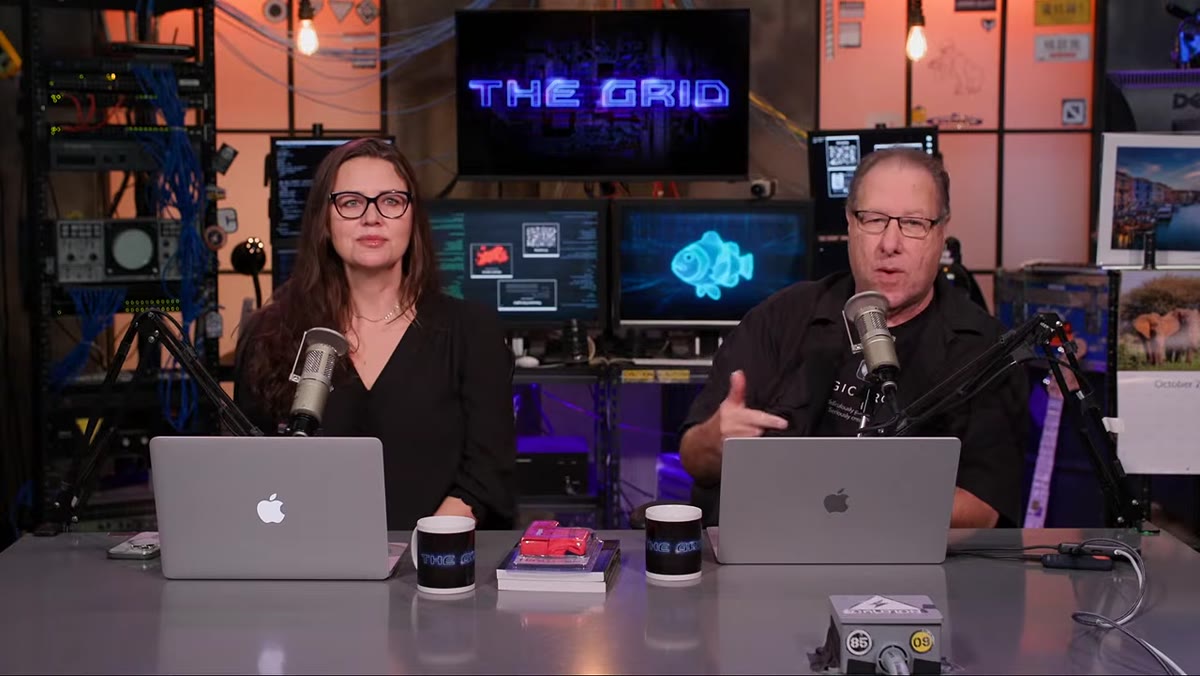
That’s why I kept coming back to this episode of The Grid from KelbyOne. In this KelbyOne Q&A session, Scott Kelby and producer Christina Sauer dig into some of Photoshop’s newer AI-driven tools, particularly Find Distractions, and show how the cleanup pipeline has genuinely changed. Watch the full tutorial on YouTube – it’s worth the full runtime. But here’s the practical breakdown so you can get moving right now.
Step 1: Know What You’re Working With Before You Start
 Scott introduces AI tips and Photoshop Q&A session
Before touching a single tool, Kelby makes a point that’s easy to skip: understand what kind of problem you’re solving. Some edits belong in Lightroom. Some belong in Photoshop. The rule of thumb he works by is that global adjustments, tone, color grading, and lens corrections are Lightroom’s domain. The moment you’re removing something, compositing, or doing anything that requires pixel-level intervention, you move to Photoshop. That distinction alone saves you from working in the wrong tool and wondering why everything feels harder than it should.
This matters for the AI features specifically because some of them consume generative credits tied to your Adobe subscription while others don’t. Knowing which is which keeps you from burning through credits on tasks that a non-generative tool handles just as well.
Step 2: Open Find Distractions From the Contextual Task Bar
 Scott opens Find Distractions tool in Photoshop
Find Distractions lives under the Remove menu in Photoshop’s contextual task bar, which appears at the bottom of your canvas when you have a layer selected. If you don’t see the task bar, go to Window and make sure Contextual Task Bar is checked. Once you’re in Find Distractions, Photoshop presents you with categories: wires, people, vehicles, and other objects. You can run them all at once or pick selectively.
The key thing Kelby points out here is that this tool is not burning generative credits. It’s AI, yes, but it’s a different class of AI than Generative Fill. That distinction matters if you’re on a plan with a credit cap. Find Distractions runs as many times as you need without touching your generative credit balance.
Step 3: Run the Removal and Let Photoshop Do the First Pass
 Photoshop automatically detecting and removing wires from photo
Hit Remove and let Photoshop analyze the image. For wires and power lines especially, the results are frequently excellent on the first pass. Photoshop builds a selection based on what it identifies, removes the content, and fills the area using its content-aware algorithm. The whole thing takes seconds on a modern machine, compared to the 20-plus minutes you might spend doing it by hand on a complex skyline.
What you’re looking for after the first pass: edge artifacts around where wires crossed a building or tree line, and any areas where the fill pattern looks repetitive. The tool is smart, but it doesn’t always nail it on complex backgrounds. That’s what the second pass is for.
Step 4: Run a Second Pass for Leftover Cleanup
 Christina tests Find Distractions with a second cleanup pass
Christina demonstrates this directly during the Q&A. After the initial removal, she re-runs Find Distractions on the same image and catches elements the first pass missed. This is worth building into your workflow as a habit rather than an afterthought. Run it, check it, run it again. The second pass often gets the stragglers that slipped through because the first removal changed the surrounding context enough that Photoshop now has a cleaner read on what’s left.
You don’t need to change any settings between passes. Just go back to the same menu, re-run the same category, and Photoshop will work on what remains. It’s genuinely faster than manually painting out each leftover artifact.
Step 5: Use a Non-Destructive Layer to Recover Anything You Wanted to Keep
 Scott demonstrating non-destructive recovery technique with layer mask
Here’s the tip I wish I’d known two years ago. Find Distractions is aggressive. Sometimes it removes something you actually wanted in the frame, a street lamp, a sign, something with character. Because Kelby works non-destructively, recovering those elements is straightforward.
Before running any removal, duplicate your background layer. Run all the AI cleanup on the duplicate. Then, if something disappears that you wanted, add a layer mask to the cleaned layer and paint black over that area to reveal the original from the layer underneath. Black conceals, white reveals – the mask basics that every Photoshop user learns and then forgets to use when they’re in a hurry. This one habit keeps you from ever being stuck with a removal you can’t undo.
Step 6: Bring In Generative Fill for the Heavier Lifts
 Scott using Generative Fill on Florence travel photo background
For edits that go beyond simple removal – extending a sky, filling in a background that got cropped badly, or adding visual breathing room to a composition – Kelby shifts to Generative Fill. This is where the generative credits come into play. You make a selection with any tool (he often uses the Lasso for loose, rough selections around the area you want filled), type a text prompt or leave it blank to let Photoshop match the existing scene, and hit Generate.
Blank prompts work surprisingly well when you just want to extend an existing background naturally. Text prompts are better when you’re adding something specific or pushing the image in a creative direction. Each generation gives you three variations in the Properties panel, and you can keep generating until one lands. Each generation batch uses credits, so if you’re close but not quite there, make a small selection adjustment rather than regenerating the entire area from scratch.
My Take: The Workflow Shift That Actually Stuck
I’ve been using Find Distractions for a few months now and the honest truth is that my rate of “ugh, I have to clean this whole thing up” dread has dropped significantly. It’s not magic and it’s not perfect, but it handles the routine stuff fast enough that I can focus energy on the stuff that actually requires my judgment. The non-destructive layer habit is the real game-changer for me personally. I used to run cleanup tools on a flattened layer and then panic when something disappeared. Now I always duplicate first, clean second, recover anything with a mask if needed. Takes ten extra seconds to set up and has saved me more than a few awkward client conversations.
One thing the video touches on that I think deserves more attention: a lot of the tools photographers have used for years, Content-Aware Fill, Subject Select, Sky Replacement, were already machine learning under the hood. We just didn’t call it AI because the word wasn’t fashionable yet. The stuff Kelby is demonstrating is a continuation of that, not a rupture. That framing makes it a lot easier to actually pick up and use instead of treating it like some alien technology that requires a separate course to understand.
The single biggest takeaway from this session: run Find Distractions at least twice, always work on a duplicate layer, and save Generative Fill for the moments that actually need it. That combination cuts cleanup time dramatically without burning through your credit balance.
Watch the full tutorial on YouTube for the complete Q&A, including the Lightroom vs. Photoshop deep dive and all the audience questions that surface some genuinely useful edge cases.
Comments
Leave a Comment