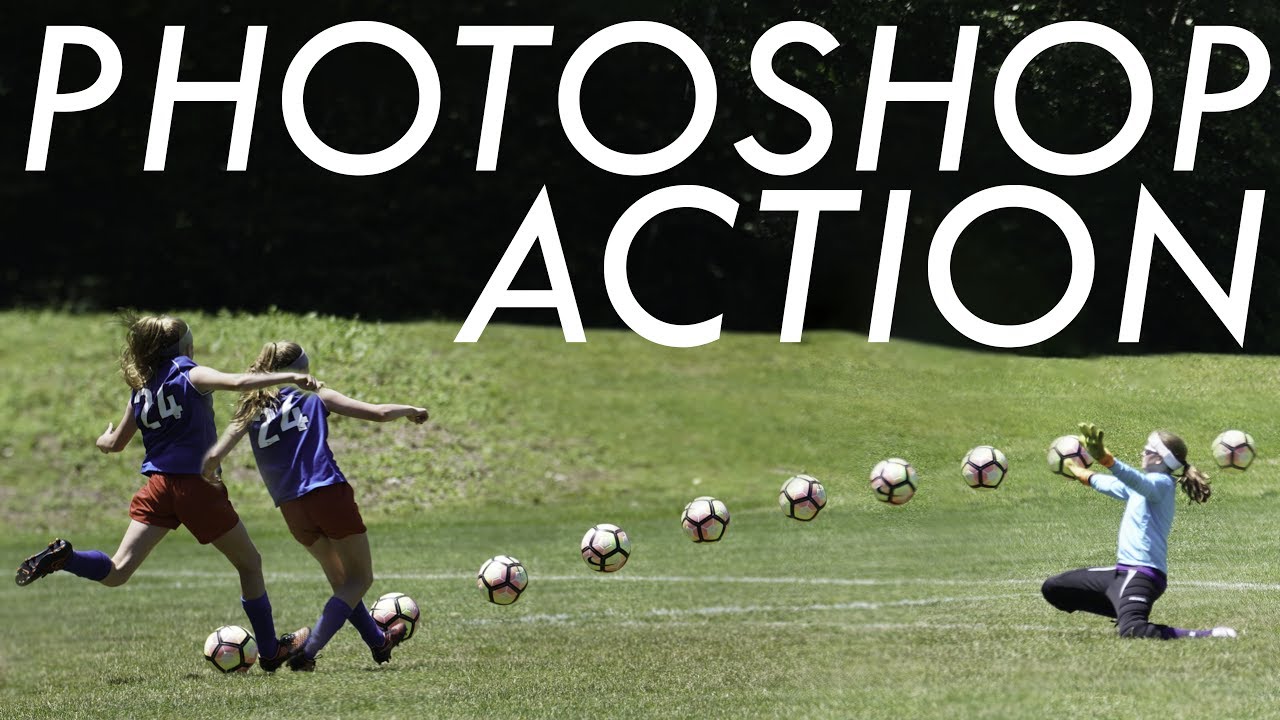
There’s a specific kind of frustration that comes from shooting a perfect moment in sports and realizing no single frame tells the full story. You’ve got thirty shots of a soccer player driving toward goal, and individually they’re fine. But none of them capture the kick and the ball and the net at the same time. That’s just physics. A single frame can only freeze one instant.
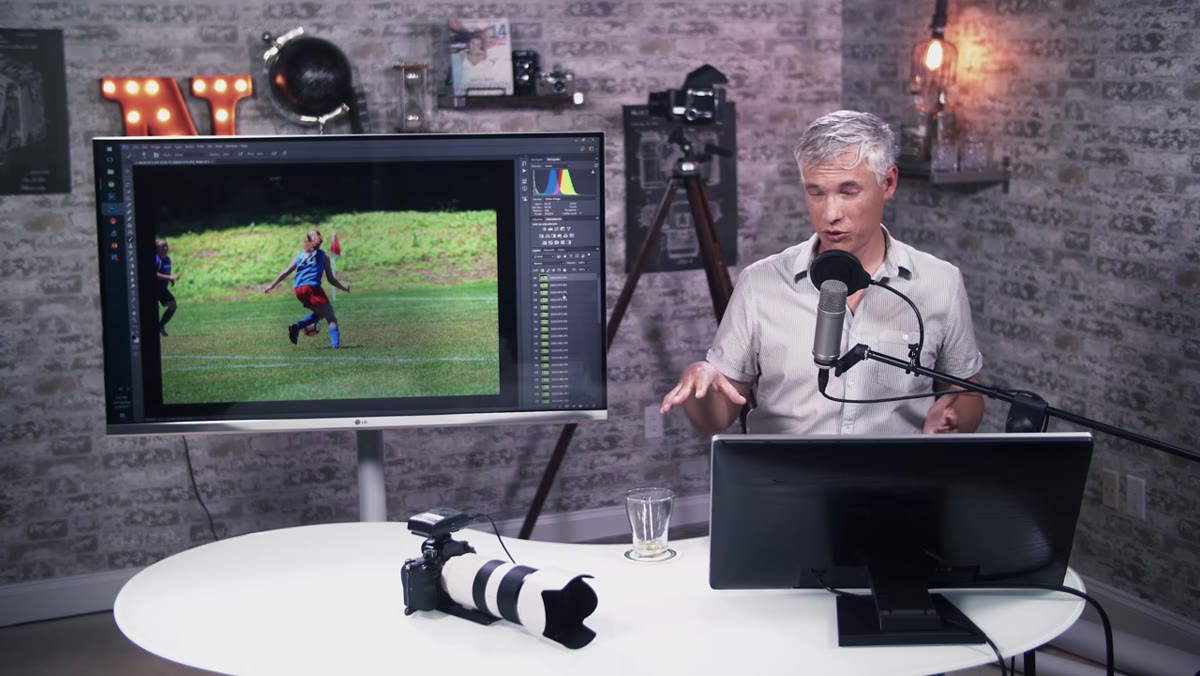
The fix, it turns out, is something I’d seen in sports photography magazines my whole life without ever stopping to think about how it was made: the multi-exposure sequence composite. Multiple frames, one image, full story told. In this Tony & Chelsea Northrup tutorial on YouTube, Tony walks through exactly how to build one of these from scratch using Lightroom for prep and Photoshop for the actual stacking. The best part? He shot the whole thing handheld, no tripod, no pre-planning. He just pulled a good burst sequence from his existing library and built something that looks intentional and cinematic. That’s the kind of practical, retroactively-useful technique I love.
I’ve been doing freelance design work long enough to know that the techniques worth actually learning are the ones that solve a real problem without requiring you to reshoot everything. This one qualifies. Here’s the full breakdown.
Step 1: Find and Curate Your Burst Sequence in Lightroom
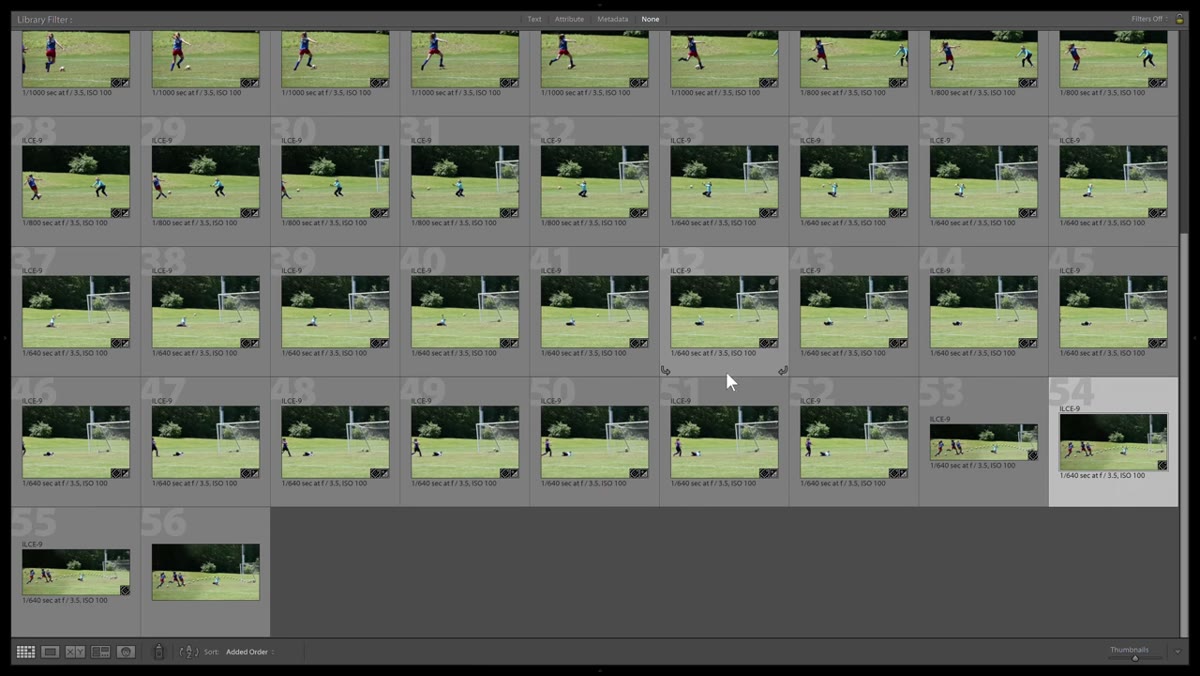 Lightroom grid showing burst of soccer action frames
Start in Lightroom with your burst sequence pulled up in grid view. You’re looking for a set of frames that, together, trace a complete arc of motion. Tony’s example is a soccer goal: the approach, the kick, the ball passing the keeper, the net. You don’t need every frame from the burst. You need the ones that tell the story clearly without doubling up on positions. If two frames show nearly identical body positions, cut one. If a frame has focus problems or the subject has wandered into an awkward position, cut that too. Be ruthless. Fewer, cleaner frames make for a better composite.
Lightroom grid showing burst of soccer action frames
Start in Lightroom with your burst sequence pulled up in grid view. You’re looking for a set of frames that, together, trace a complete arc of motion. Tony’s example is a soccer goal: the approach, the kick, the ball passing the keeper, the net. You don’t need every frame from the burst. You need the ones that tell the story clearly without doubling up on positions. If two frames show nearly identical body positions, cut one. If a frame has focus problems or the subject has wandered into an awkward position, cut that too. Be ruthless. Fewer, cleaner frames make for a better composite.
Step 2: Match Exposures Across All Selected Frames
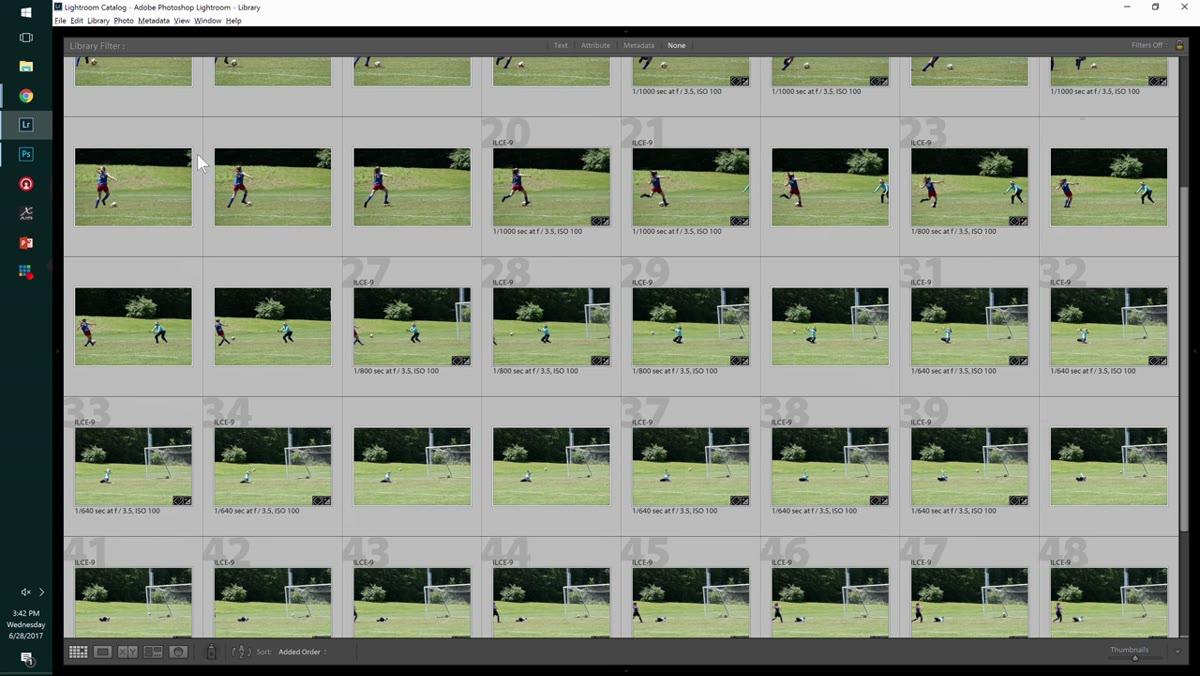 Lightroom Develop Settings > Match Total Exposures menu option
This step is what saves the whole technique from looking like a mess of mismatched brightness levels. If you were shooting on auto exposure, which Tony was, different frames in your sequence may have slightly different shutter speeds and exposure values. Lightroom’s “Match Total Exposures” feature (found under Photo > Develop Settings > Match Total Exposures) automatically equalizes the brightness across all selected images so they look like they were shot at identical settings.
Lightroom Develop Settings > Match Total Exposures menu option
This step is what saves the whole technique from looking like a mess of mismatched brightness levels. If you were shooting on auto exposure, which Tony was, different frames in your sequence may have slightly different shutter speeds and exposure values. Lightroom’s “Match Total Exposures” feature (found under Photo > Develop Settings > Match Total Exposures) automatically equalizes the brightness across all selected images so they look like they were shot at identical settings.
Select all the frames you’ve kept, shift-click from first to last, then run that command. After that, while everything is still selected, this is the moment to make any global edits. Adjust exposure, contrast, saturation, shadows, whatever your overall look requires. Because all frames are selected simultaneously, every change you make applies to all of them at once. Do this now, because once you’re in Photoshop it becomes a much bigger headache to go back and fix tonal inconsistencies.
Step 3: Export or Open All Frames Into Photoshop as Layers
 Selected images in Lightroom ready to open in Photoshop
With your edited frames selected, send them all to Photoshop. In Lightroom, you can do this via Photo > Edit In > Open as Layers in Photoshop. This stacks every selected image as its own layer in a single document, which is exactly what you need. The order may vary, so once you’re in Photoshop, take a second to arrange the layers chronologically from bottom to top. The earliest frame of the sequence at the bottom, the final frame at the top. This makes the masking logic much easier to manage in the next steps.
Selected images in Lightroom ready to open in Photoshop
With your edited frames selected, send them all to Photoshop. In Lightroom, you can do this via Photo > Edit In > Open as Layers in Photoshop. This stacks every selected image as its own layer in a single document, which is exactly what you need. The order may vary, so once you’re in Photoshop, take a second to arrange the layers chronologically from bottom to top. The earliest frame of the sequence at the bottom, the final frame at the top. This makes the masking logic much easier to manage in the next steps.
Step 4: Align the Layers
 Photoshop layers panel with stacked action frames visible
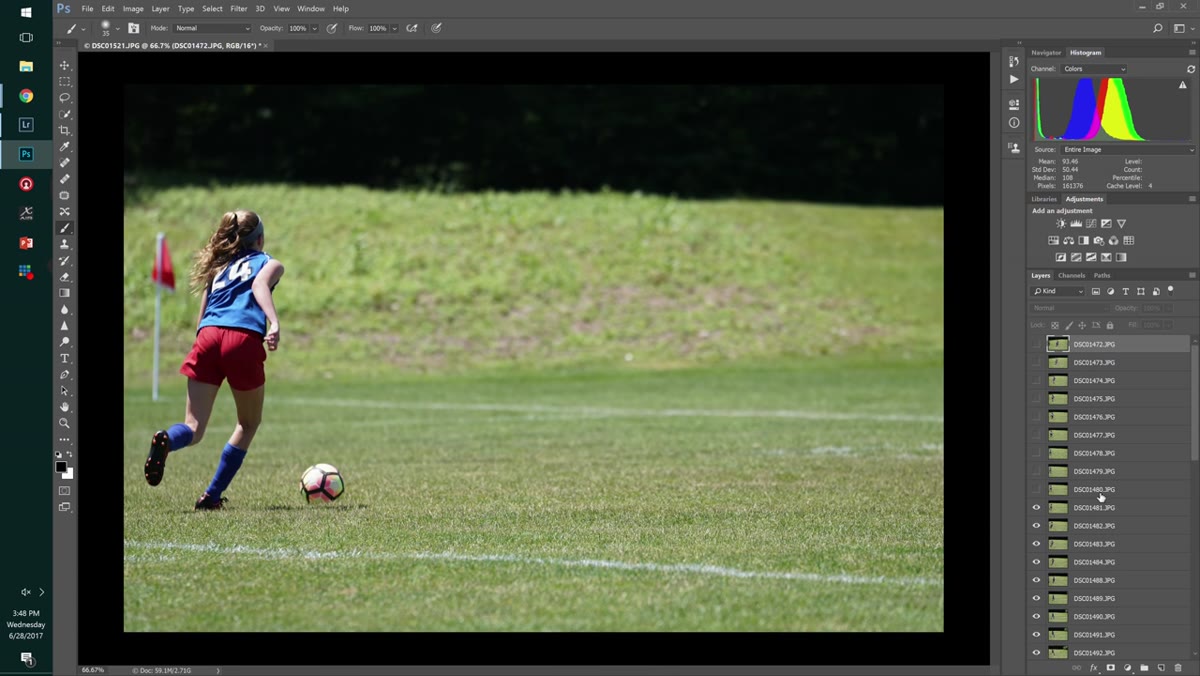
Because Tony shot this handheld, the camera position shifted slightly between frames. That’s normal, and it’s not a problem. Select all layers in the Photoshop panel, then go to Edit > Auto-Align Layers. Use the Auto projection option. Photoshop analyzes shared content across frames and shifts each layer to compensate for camera movement. This is what makes the whole technique viable without a tripod. After alignment, you may see thin transparent borders around some layers where Photoshop had to shift things. You’ll crop those out at the end, so don’t worry about them yet.
Photoshop layers panel with stacked action frames visible
Because Tony shot this handheld, the camera position shifted slightly between frames. That’s normal, and it’s not a problem. Select all layers in the Photoshop panel, then go to Edit > Auto-Align Layers. Use the Auto projection option. Photoshop analyzes shared content across frames and shifts each layer to compensate for camera movement. This is what makes the whole technique viable without a tripod. After alignment, you may see thin transparent borders around some layers where Photoshop had to shift things. You’ll crop those out at the end, so don’t worry about them yet.
Step 5: Mask Each Layer to Show Only the Subject at That Moment
 Layer mask being painted to reveal player position from one frame
This is where the real work happens, and it’s more approachable than it sounds. Start with your top layer visible and all others hidden. Add a layer mask to that top layer and paint with black to hide everything except the part of that frame you actually want visible - typically the subject’s position at that moment in time. Then reveal the next layer down and repeat the process, masking so that only the subject’s position from that frame shows through, without overlapping awkwardly with the frame above it.
Layer mask being painted to reveal player position from one frame
This is where the real work happens, and it’s more approachable than it sounds. Start with your top layer visible and all others hidden. Add a layer mask to that top layer and paint with black to hide everything except the part of that frame you actually want visible - typically the subject’s position at that moment in time. Then reveal the next layer down and repeat the process, masking so that only the subject’s position from that frame shows through, without overlapping awkwardly with the frame above it.
Work your way down the layer stack. The goal is to have each frame contributing one clear “ghost” of the subject at a distinct point in the sequence. Use a soft brush for organic edges around people and clothing. Harder edges work fine for the ball or any object with a clean outline. Zoom in and be precise around contact points where one frame’s subject might overlap with another’s position.
Step 6: Crop and Final Composite Cleanup
 Final composite view showing full sequence of player positions
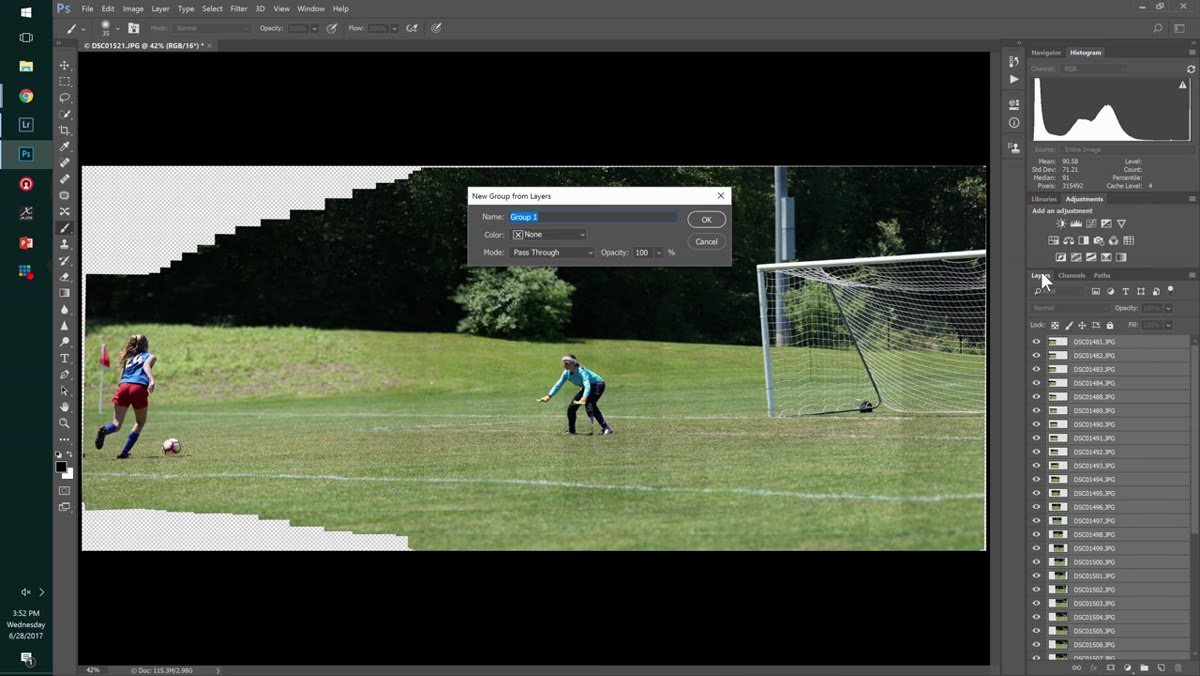
Once all your masks are done and you can see the full sequence of positions reading left to right across the frame, crop out any alignment artifacts at the edges. Flatten or merge visible layers only when you’re satisfied with the masks. Do a final check for any halos, hard edges, or color inconsistencies between frames that might need a touch-up with the Clone Stamp or a quick Curves adjustment clipped to an individual layer. If the background is mostly consistent across frames, the composite will read naturally. If there are major background differences between frames, that’s where the technique requires more manual cleanup work.
Final composite view showing full sequence of player positions
Once all your masks are done and you can see the full sequence of positions reading left to right across the frame, crop out any alignment artifacts at the edges. Flatten or merge visible layers only when you’re satisfied with the masks. Do a final check for any halos, hard edges, or color inconsistencies between frames that might need a touch-up with the Clone Stamp or a quick Curves adjustment clipped to an individual layer. If the background is mostly consistent across frames, the composite will read naturally. If there are major background differences between frames, that’s where the technique requires more manual cleanup work.
A Note on Shooting Conditions That Make This Easier
The one thing I’d add from working with burst sequences myself: this technique lives and dies on background consistency. Tony’s example works beautifully partly because the soccer field background doesn’t change dramatically between frames. If you’re shooting something where the background shifts a lot, like a street event with crowds moving through, the composite gets noticeably harder to sell. It’s still doable, but you’ll spend a lot more time on the background areas of your masks. Shoot with as static a background as you can manage, or position yourself so the background is far enough away that motion blur at your aperture softens it into a consistent wash.
The other thing worth knowing: you don’t need a 20-frames-per-second Sony body to make this work. Any burst mode gives you enough to find four to six usable positions across a sequence. More frames just means more options to choose from.
The single biggest mindset shift this technique offers is that it frees you from the tyranny of the perfect single frame. Sports photography often feels like a game of luck, catching the exact right millisecond. This approach reframes the whole problem: shoot the burst, tell the story across multiple frames, build the composite. It’s a more deliberate and frankly more satisfying way to work.
Watch the full tutorial on YouTube to see Tony walk through the live process, including the specific Lightroom settings and the Photoshop masking in real time.
Comments
Leave a Comment