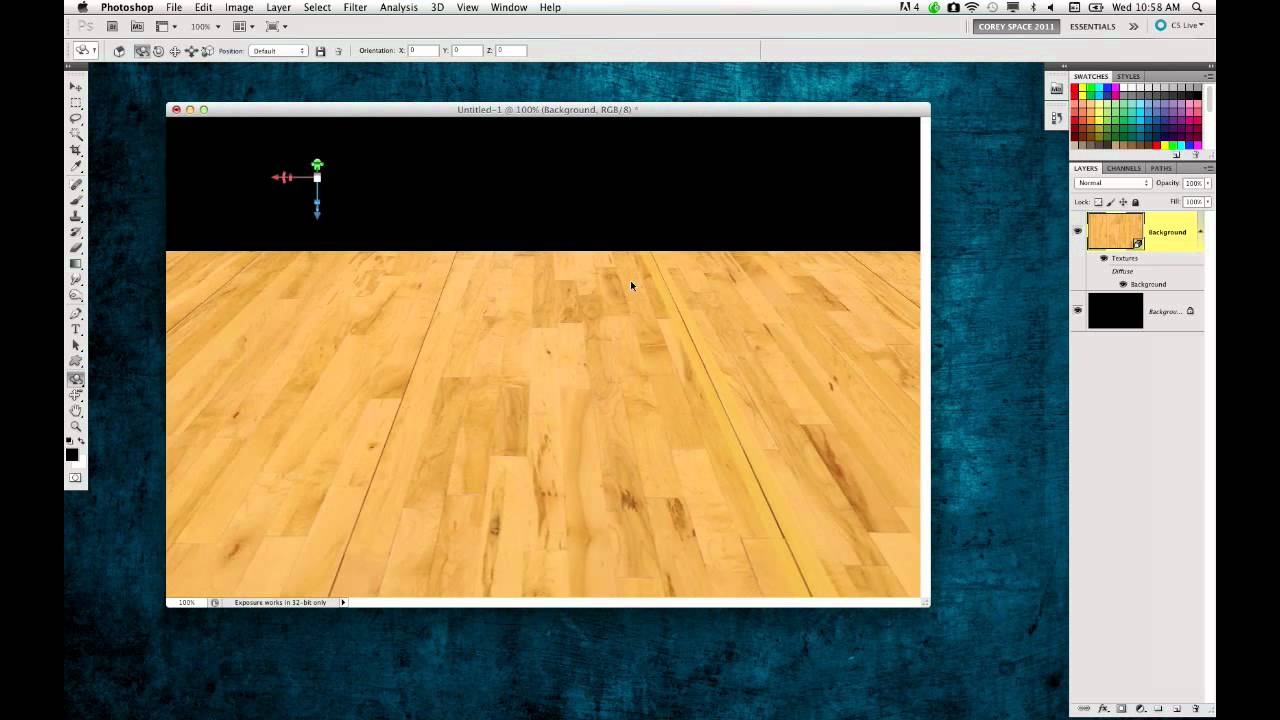
I run Photoshop from a coffee shop table most days, which means my laptop is doing a lot of heavy lifting on not a lot of real estate. For a long time I treated my internal drive like a junk drawer, just dumping everything on it and wondering why things got sluggish around deadline. It wasn’t until I watched this older KelbyOne tutorial, PhotoshopUser TV Episode 293{target="_blank"}, that I realized my file management habits were basically sabotaging my own machine.
Watch the full tutorial on YouTube
The tip that stopped me in my tracks was the external drive workflow for Lightroom. It sounds almost too simple to be worth writing about. But if you’ve ever had Lightroom freeze mid-cull, or noticed your whole system getting thick and unresponsive while editing, the fix might literally be a $60 drive and a label maker. The concept is straightforward: keep your boot drive as clear as possible and route your photo libraries onto labeled external drives instead. Here’s how it actually works in practice.
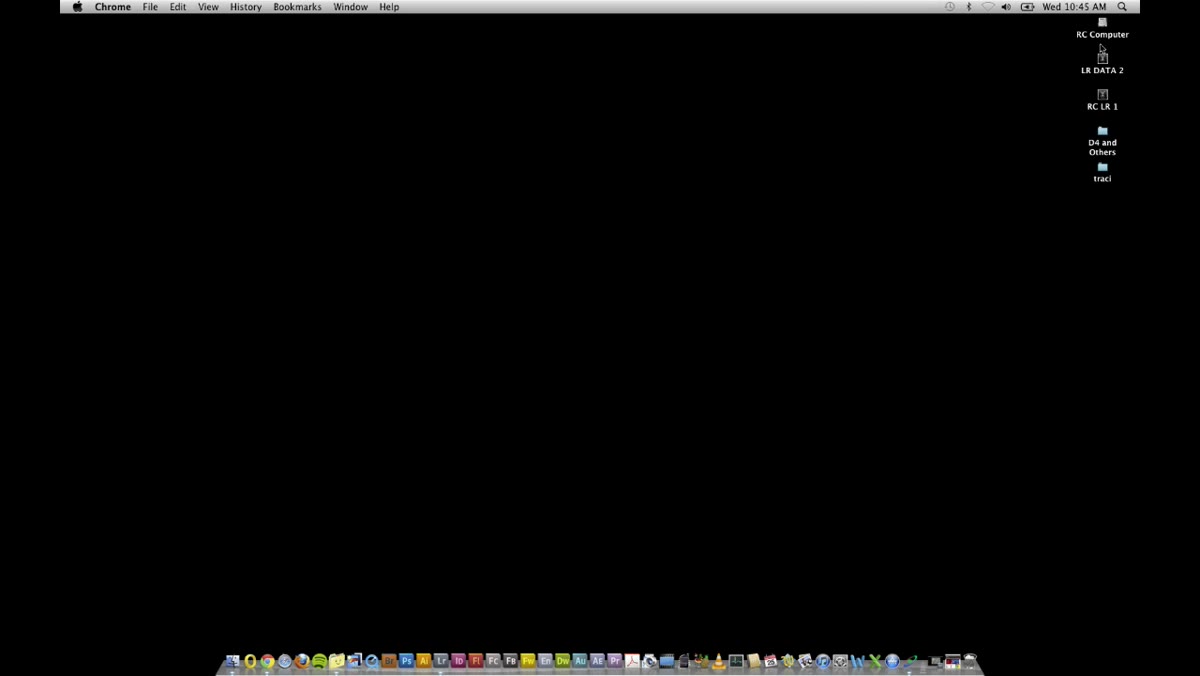
Step 1: Check How Much Space You’re Actually Working With
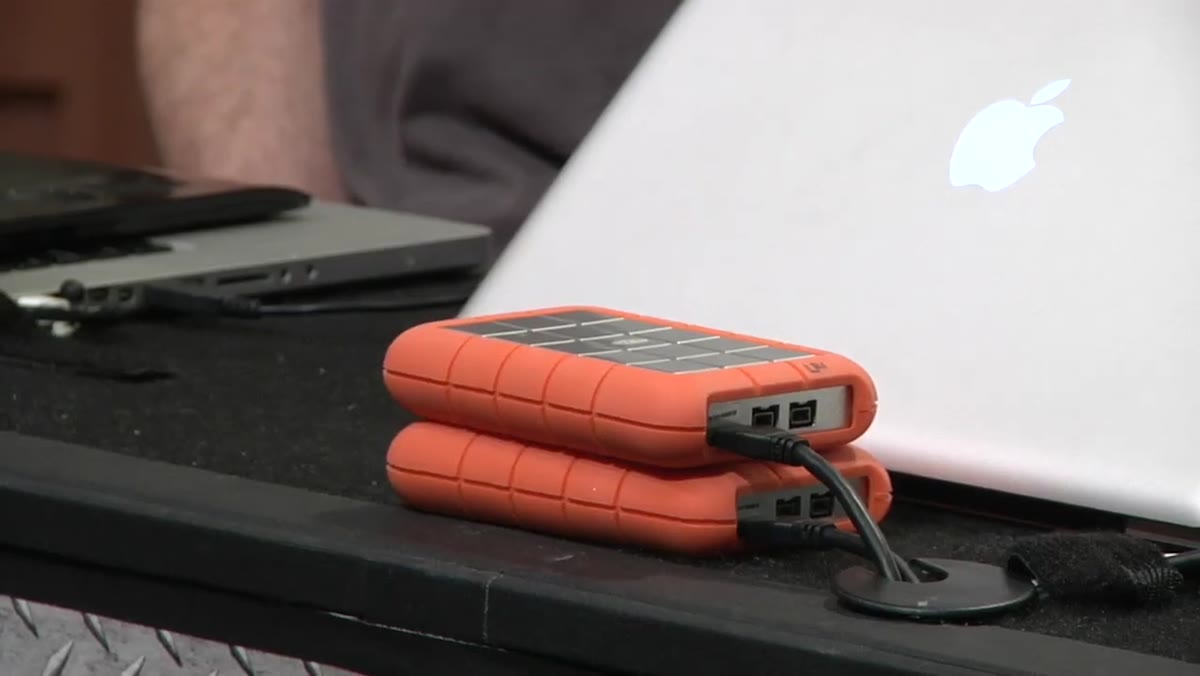
 Right-click Get Info window showing drive capacity on Mac
Before you touch anything in Lightroom, do a quick audit of your internal drive. On a Mac, right-click your hard drive in Finder and hit “Get Info.” On Windows, open File Explorer, right-click your drive, and choose “Properties.” What you’re looking for is your available free space. The tutorial makes the point clearly: the more headroom you leave on your boot drive, the better your system performs. Once you dip below 15 to 20GB of free space, things get genuinely painful. People sometimes run their machines down to 3 or 4GB free and then wonder why Photoshop takes three minutes to open a file.
Right-click Get Info window showing drive capacity on Mac
Before you touch anything in Lightroom, do a quick audit of your internal drive. On a Mac, right-click your hard drive in Finder and hit “Get Info.” On Windows, open File Explorer, right-click your drive, and choose “Properties.” What you’re looking for is your available free space. The tutorial makes the point clearly: the more headroom you leave on your boot drive, the better your system performs. Once you dip below 15 to 20GB of free space, things get genuinely painful. People sometimes run their machines down to 3 or 4GB free and then wonder why Photoshop takes three minutes to open a file.
If you’re sitting under 50GB free and you’re a working photographer or designer, this workflow is basically mandatory at this point.
Step 2: Set Up Dedicated External Drives for Your Lightroom Libraries
 Labeled external drives showing LR1 and LR2 markings on back
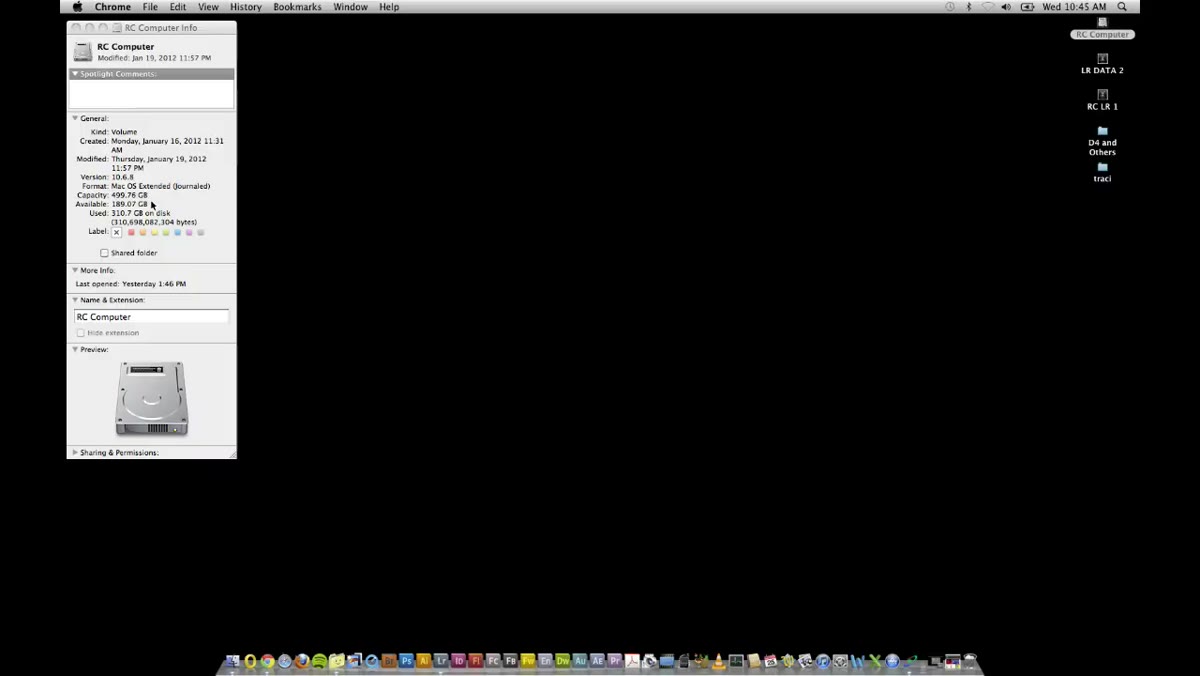
The next move is picking up one or more external hard drives and dedicating them specifically to Lightroom. The setup shown in the tutorial uses multiple drives, labeled simply as LR1, LR2, and so on, with physical labels on the back of each drive. That last part sounds almost too low-tech to mention, but when you’ve got three or four drives sitting on a desk, you really do want a quick visual identifier that doesn’t require plugging anything in to figure out.
Labeled external drives showing LR1 and LR2 markings on back
The next move is picking up one or more external hard drives and dedicating them specifically to Lightroom. The setup shown in the tutorial uses multiple drives, labeled simply as LR1, LR2, and so on, with physical labels on the back of each drive. That last part sounds almost too low-tech to mention, but when you’ve got three or four drives sitting on a desk, you really do want a quick visual identifier that doesn’t require plugging anything in to figure out.
Each drive holds folders of images organized by shoot or project. The naming convention keeps things boring on purpose. Boring is searchable. Boring scales. Don’t get clever with your drive naming system.
Step 3: Build Your Import Workflow Around the External Drive
 Lightroom import process routing files to external drive location
This is where the habit change actually happens. Instead of letting Lightroom dump imported photos onto your internal drive by default, you redirect the import destination to your external drive. In Lightroom Classic, when you trigger an import, look at the top right of the Import dialog. That’s where you set the destination. Click it and navigate to your external drive. Set a folder structure that makes sense for your shooting schedule, something like Year, then Client or Shoot Name.
Lightroom import process routing files to external drive location
This is where the habit change actually happens. Instead of letting Lightroom dump imported photos onto your internal drive by default, you redirect the import destination to your external drive. In Lightroom Classic, when you trigger an import, look at the top right of the Import dialog. That’s where you set the destination. Click it and navigate to your external drive. Set a folder structure that makes sense for your shooting schedule, something like Year, then Client or Shoot Name.
The key discipline here is only pulling in what you’re actively working on. If you shot a wedding in October and you’re done delivering it, that folder lives on the external drive and stays there. You don’t keep dragging old catalogs back onto your laptop “just in case.” That “just in case” mentality is what fills drives and kills performance.
Step 4: Keep the Catalog Itself Organized to Match
 Lightroom catalog panel showing folder structure aligned with drives
Your Lightroom catalog file can live on your internal drive since it’s relatively small and Lightroom needs fast access to it. What you’re offloading to the external drive is the actual raw image files and your previews. In Lightroom’s preferences, under the “Catalog Settings,” you can control where previews are stored. Routing large preview caches to the external drive is another way to claw back internal space.
Lightroom catalog panel showing folder structure aligned with drives
Your Lightroom catalog file can live on your internal drive since it’s relatively small and Lightroom needs fast access to it. What you’re offloading to the external drive is the actual raw image files and your previews. In Lightroom’s preferences, under the “Catalog Settings,” you can control where previews are stored. Routing large preview caches to the external drive is another way to claw back internal space.
Make sure your folder panel in Lightroom reflects the external drive structure. If a drive isn’t connected, those folders will show a question mark, which is normal. Reconnect the drive and everything comes back. It’s less scary than it looks the first time it happens to you.
Step 5: Label, Tape, and Commit to the System
 Physical external drives with labels taped to back of each unit
The physical labeling step sounds like something you’d skip, but don’t. Whether you use a label maker, masking tape and a marker, or even colored electrical tape, put something on the outside of each drive that identifies it. The tutorial shows drives labeled cleanly on the back, taped down so they don’t peel off. It costs about four minutes and saves you from the “which drive is which” panic when you’re trying to meet a deadline.
Physical external drives with labels taped to back of each unit
The physical labeling step sounds like something you’d skip, but don’t. Whether you use a label maker, masking tape and a marker, or even colored electrical tape, put something on the outside of each drive that identifies it. The tutorial shows drives labeled cleanly on the back, taped down so they don’t peel off. It costs about four minutes and saves you from the “which drive is which” panic when you’re trying to meet a deadline.
Treat these drives like they are your archive. Because they are. If you lose a drive without a backup, you lose the work. Which brings up the obvious follow-on: every external drive in this system should have at least one backup copy somewhere else, whether that’s a second external, a NAS, or cloud backup.
What I’d Add From My Own Experience
I took this workflow and extended it by also using a consistent folder naming format that includes the date at the front, formatted as YYYY-MM-DD, followed by the client name. So something like 2024-03-15-NorthstarBranding. Lightroom sorts these alphabetically and it becomes chronological automatically. No reorganizing needed.
I also set up Lightroom to build 1:1 previews on import, which takes longer upfront but means the external drive doesn’t have to work as hard during culling. You spend the time once at import and then browsing is smooth even over USB. If you’re on Thunderbolt or USB-C, you probably won’t even notice a speed difference compared to internal storage for most editing tasks.
The single most important thing this tutorial reinforced for me: your internal drive’s free space is a performance resource, not just storage capacity. Protecting it is part of your editing setup, same as RAM or processor speed. Get your photo libraries off your boot drive, label your externals clearly, and build the import habit once so you don’t have to think about it again.
Watch the full tutorial on YouTube and skip ahead to around the 3-minute mark to see the drive setup demonstrated directly.
Comments
Leave a Comment