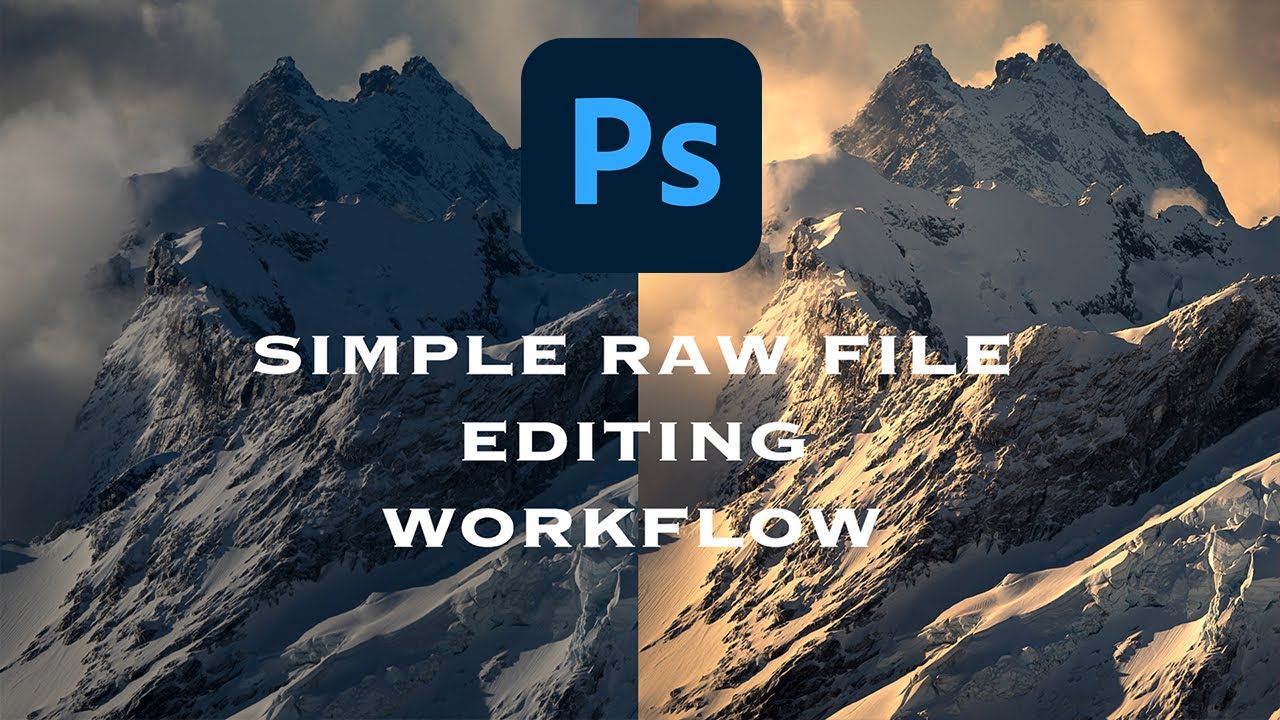
I’ll be honest with you. For an embarrassingly long time, I treated Adobe Camera Raw like a tollbooth I had to pass through before getting to the “real” editing in Photoshop. Tweak the exposure a little, maybe nudge the whites, click Open, move on. It wasn’t until I started watching photographers who actually live inside Camera Raw that I realized I was basically skipping the best part of the meal.
Watch the full tutorial on YouTube
In this William Patino tutorial, Will walks through his complete Camera Raw editing process on an aerial mountain shot taken during golden hour. The light didn’t quite translate from scene to file, the colors look flat, and the whole thing needs coaxing back to life. Sound familiar? It should. That gap between what your eye saw and what the raw file spits out is the exact problem this workflow is built to close. The principles here transfer directly to Lightroom too, so if that’s your tool of choice, don’t click away.
Step 1: Open Your Raw File via Bridge and Let Camera Raw Load
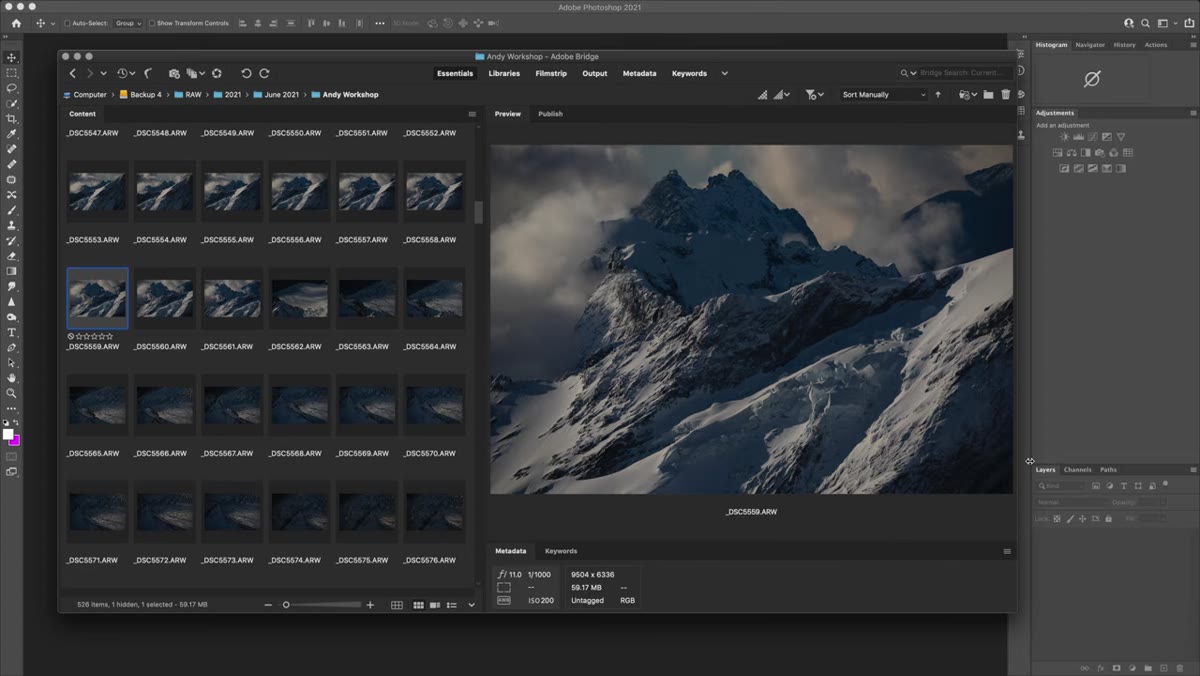 Adobe Bridge showing thumbnail grid with raw file selected
Skip the File menu. If you’re not using Adobe Bridge to browse and open your raw files, you’re adding unnecessary friction to your day. In Bridge, double-clicking a raw file triggers Photoshop to recognize the format and automatically route it through Camera Raw first. No extra steps, no hunting through menus. Will uses this as his default entry point into every edit, and once you try it, you’ll understand why.
Adobe Bridge showing thumbnail grid with raw file selected
Skip the File menu. If you’re not using Adobe Bridge to browse and open your raw files, you’re adding unnecessary friction to your day. In Bridge, double-clicking a raw file triggers Photoshop to recognize the format and automatically route it through Camera Raw first. No extra steps, no hunting through menus. Will uses this as his default entry point into every edit, and once you try it, you’ll understand why.
When Camera Raw opens, you’re looking at the raw file in its unprocessed state. Don’t panic at how flat or dull it looks. Raw files are intentionally “unrendered” compared to what a JPEG would show you or what your eyes actually saw on location. Think of it like a film negative sitting in a darkroom. The image is all there. You just haven’t developed it yet.
Step 2: Pre-Visualize Before You Touch a Single Slider
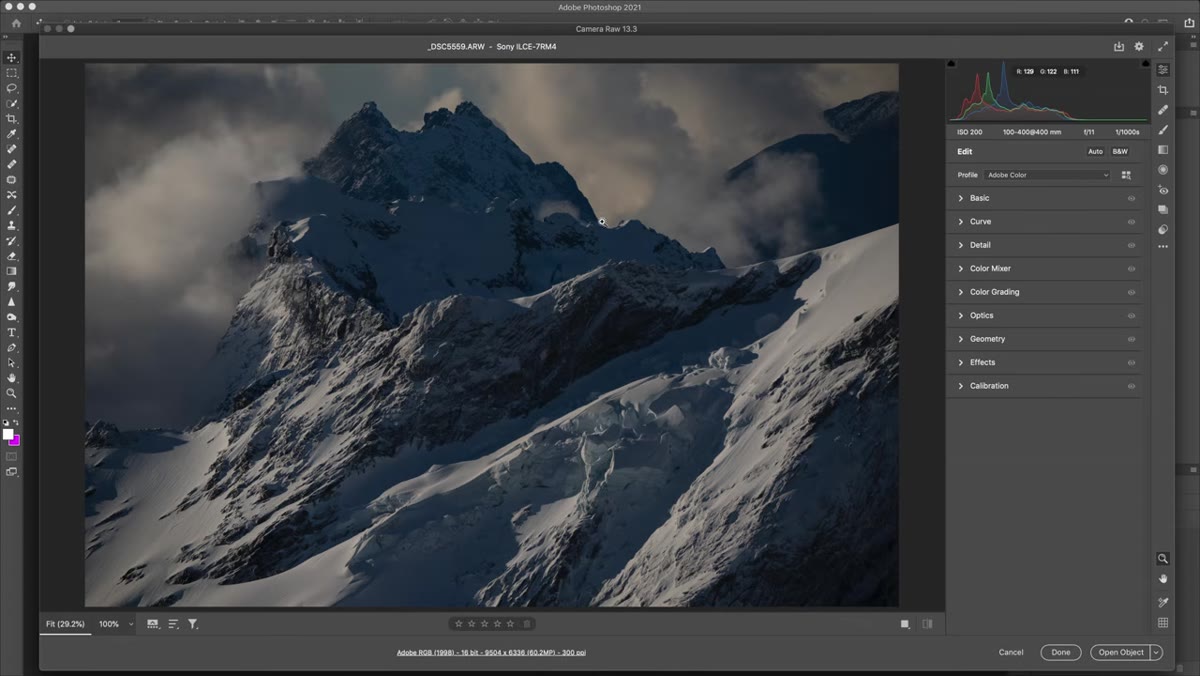
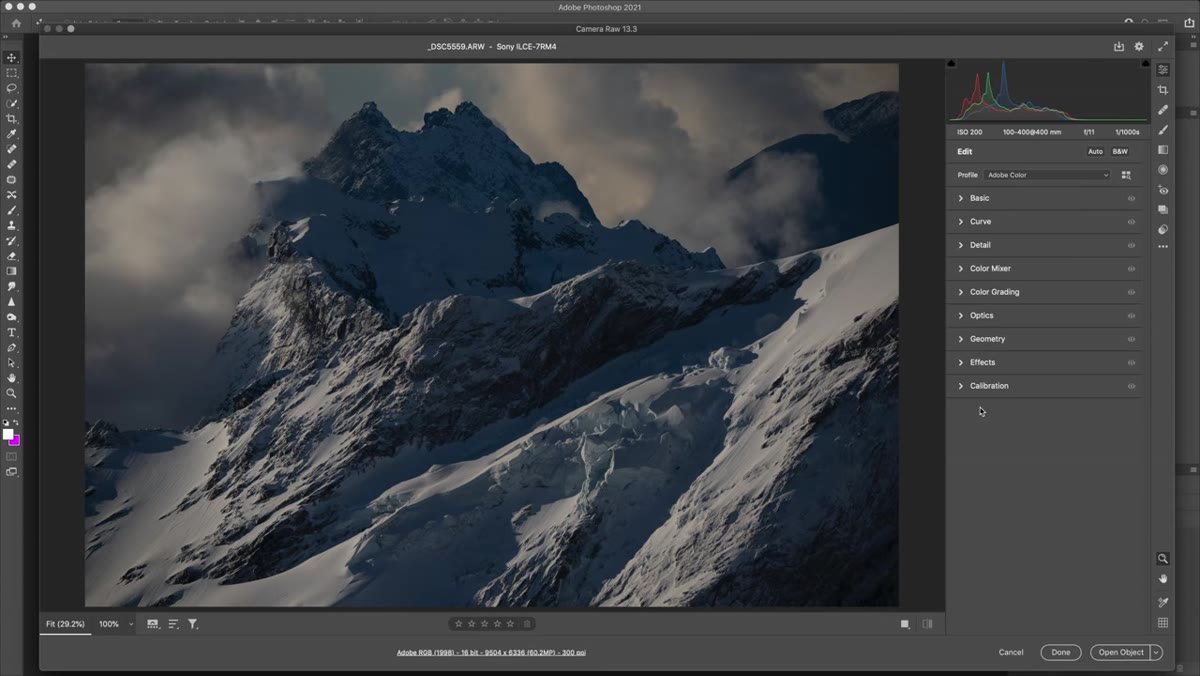 Raw mountain image open in Camera Raw, sliders untouched
This is the step most people skip, and it costs them. Before Will moves anything, he takes a moment to just look at the image and decide where he wants to take it. For this mountain shot, he sees a few possible directions: a cool monochrome treatment, a black and white conversion, or leaning into the warm golden hour light that was there at capture but didn’t survive the raw conversion.
Raw mountain image open in Camera Raw, sliders untouched
This is the step most people skip, and it costs them. Before Will moves anything, he takes a moment to just look at the image and decide where he wants to take it. For this mountain shot, he sees a few possible directions: a cool monochrome treatment, a black and white conversion, or leaning into the warm golden hour light that was there at capture but didn’t survive the raw conversion.
He picks the warm route, and that choice shapes every decision that follows. The goal becomes specific: introduce warmer highlights throughout the image, enhance the light source coming in from the left side of the frame, and draw the viewer’s eye toward the central peak. Having that clear intent before touching a slider means you’re steering the edit rather than wandering through it. It sounds obvious. Almost nobody does it.
Step 3: Set the White Balance to Match Your Lighting Intent
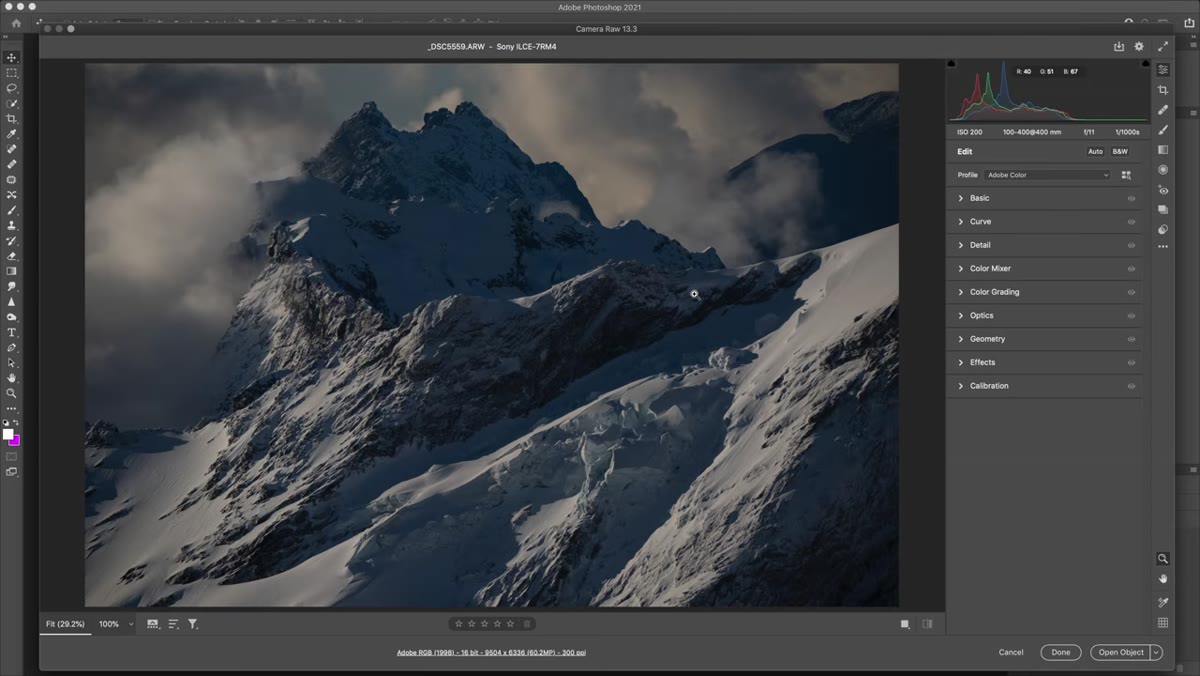 White balance sliders being adjusted in Camera Raw Basic panel
White balance is where you start reclaiming the light that got stripped out when your camera wrote the raw file. Since the goal here is warmth, Will adjusts the Temperature slider toward the warmer end of the scale and uses the Tint slider to keep the overall tone from going muddy. There’s no single “correct” number because it depends entirely on your image and your intent.
White balance sliders being adjusted in Camera Raw Basic panel
White balance is where you start reclaiming the light that got stripped out when your camera wrote the raw file. Since the goal here is warmth, Will adjusts the Temperature slider toward the warmer end of the scale and uses the Tint slider to keep the overall tone from going muddy. There’s no single “correct” number because it depends entirely on your image and your intent.
The practical approach: pull the Temperature warm until the highlights start to feel like actual sunlight, then check your shadows. If the shadows go too green or too magenta, the Tint slider brings them back into balance. You’re not chasing a neutral white balance here. You’re sculpting the color story of the image.
Step 4: Work the Tone Controls with Purpose, Not Habit
 Exposure, contrast, highlights and shadows sliders in Basic panel
The Basic panel sliders are not a checklist to run through by reflex. Will treats each one as a targeted tool. Exposure sets the overall brightness of the image. Contrast affects the separation between the mid tones. Highlights and Shadows let you independently manage the bright and dark areas without blowing out the sky or crushing the ground.
Exposure, contrast, highlights and shadows sliders in Basic panel
The Basic panel sliders are not a checklist to run through by reflex. Will treats each one as a targeted tool. Exposure sets the overall brightness of the image. Contrast affects the separation between the mid tones. Highlights and Shadows let you independently manage the bright and dark areas without blowing out the sky or crushing the ground.
For a landscape like this, the typical move is to pull Highlights down to protect the bright cloud detail on the left side of the frame, and lift the Shadows slightly to open up the darker foreground without flattening the whole image. The Whites and Blacks sliders set the endpoints of your tonal range. Holding Alt/Option while dragging them shows a threshold view that tells you exactly when clipping starts. Use it. It’s one of those things that feels fiddly the first time and then becomes second nature.
Step 5: Use the Light Source as a Compositional Tool
 Mountain image showing directional light on left side of frame
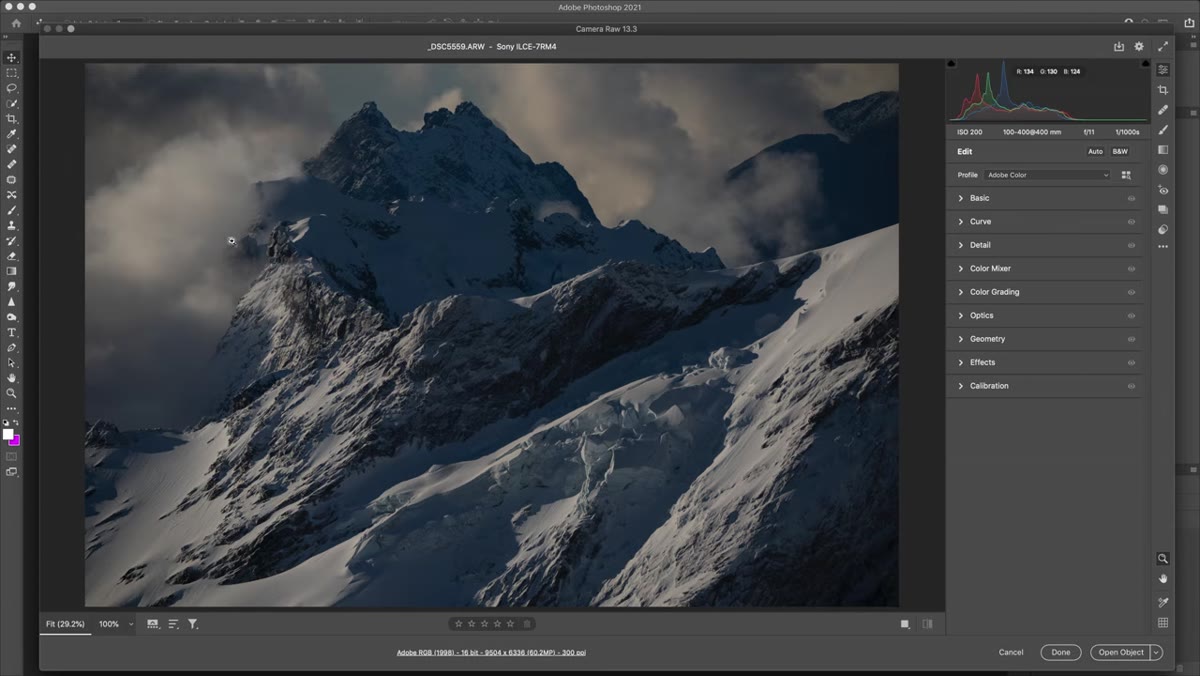
Here’s where Will starts thinking like a visual artist rather than a technician. He identifies the directional light coming from the left side of the frame, hitting the clouds and cascading across the mountain landscape below. Rather than just correcting the image evenly, he wants to enhance that directionality so the viewer feels the light source and follows it across the scene toward the central peak.
Mountain image showing directional light on left side of frame
Here’s where Will starts thinking like a visual artist rather than a technician. He identifies the directional light coming from the left side of the frame, hitting the clouds and cascading across the mountain landscape below. Rather than just correcting the image evenly, he wants to enhance that directionality so the viewer feels the light source and follows it across the scene toward the central peak.
This kind of thinking changes how you use local adjustments later in the process. Whether you’re using the Radial Filter, the Graduated Filter, or the new Masking tools in Camera Raw, you’re building on this pre-visualization. You know which areas should be brighter, which should stay dark, and why. Editing becomes less about sliding things until it “looks good” and more about executing a specific visual plan.
One Thing I’d Add from My Own Experience
The pre-visualization step is where most of us need to slow down the most, and it’s the hardest to sell to people because it feels passive. When I first started doing client work, I’d open a raw file and immediately start dragging sliders because it felt productive. The problem was I’d often get twenty minutes into an edit before realizing the direction I chose wasn’t right for the image. Then I’d reset and start over.
What actually helped me was grabbing a coffee, opening the file, and writing down three words I wanted the final image to feel like before touching anything. Warm. Dramatic. Directional. Whatever fits your specific shot. It sounds hokey but it acts like a north star through the whole edit. If a slider move doesn’t serve those three words, you probably don’t need it.
The single biggest takeaway from this tutorial isn’t a specific slider value or a Camera Raw trick. It’s the discipline of knowing what you want the image to be before you start trying to make it be something. Will’s workflow is fast and effective precisely because every move he makes is pointed at a clear visual target. Once you have that, Camera Raw becomes a very short distance between where your raw file starts and where your finished image lands.
Watch the full tutorial on YouTube and watch how Will ties these steps together on a real image. Seeing the before and after in motion makes the contrast between a flat raw file and a developed image click in a way that screenshots never quite capture.
Comments
Leave a Comment